Hi, it's me, Natalie. From The Creative Mom. I'm so excited to be back here, sharing my "give thanks" banner.
This little craft was so quick and easy, and I absolutely LOVE how it turned out.

Supplies you'll need:
• Cardstock or Chipboard
• Cut out letters
• Mod Podge
• Glitter
• Glitter Tape or Ribbon
• Cut out letters
• Mod Podge
• Glitter
• Glitter Tape or Ribbon
Instructions:
Start by cutting out your banner shapes from cardstock or chipboard. I used chipboard here.
You could cut any shape you'd like... a triangle, rectangle, circle, or a shape similar to mine.

Using a foam brush, run a little bead of Mod Podge around the bottom 3 edges of your banner pieces. Do not Mod Podge the top edge, where your ribbon will be.
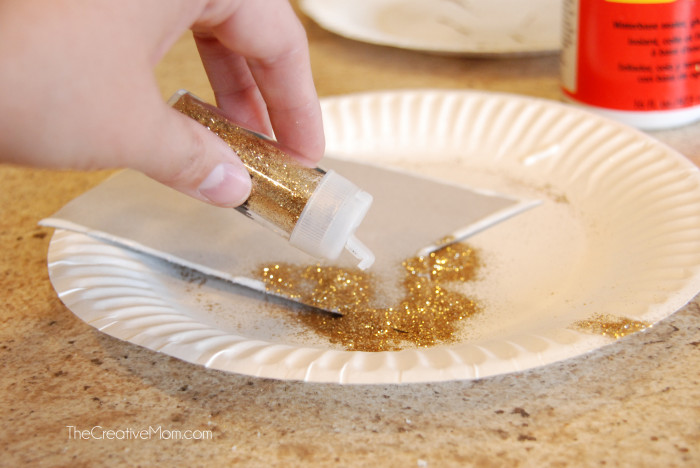
After you have your edges Mod Podged, sprinkle your glitter onto your banner pieces.

Then shake the excess glitter off, onto a paper plate, so you can dump the glitter back into your container and re-use it when you're done.
The glitter will only stick to the places you put your Mod Podge.
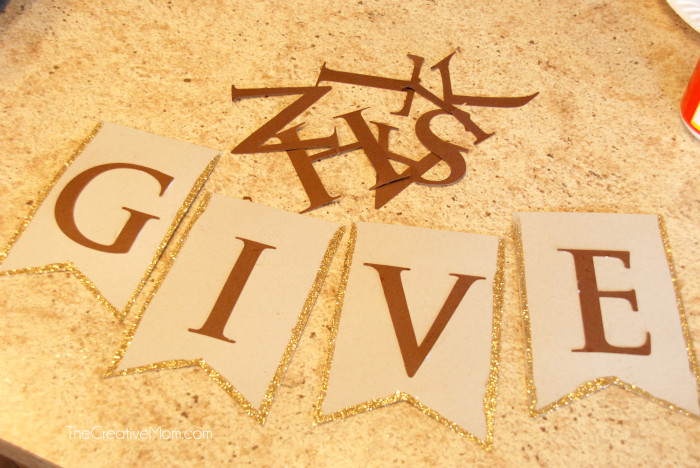
Then take your letters and glue them to the top of your banner pieces. I used my electronic cutter to cut out the letters, but you could cut them by hand, or buy them at your craft store. You could even use stickers.
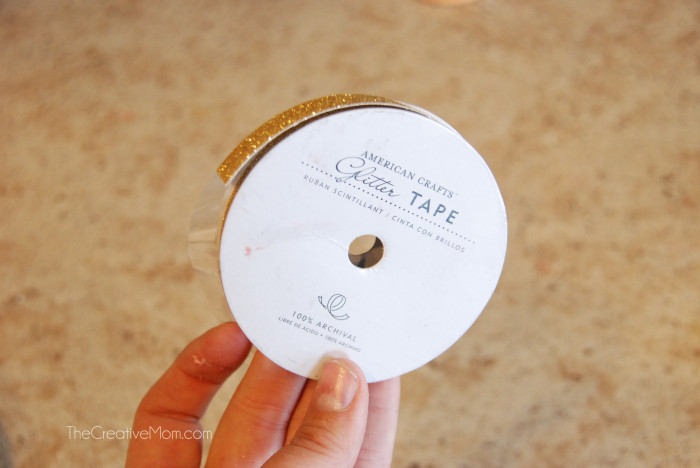
Then glue your banner pieces onto a ribbon. I actually used this glitter tape, by American Crafts, and just stuck my banner pieces right on.

Then you can hang it up wherever you'd like! It will be sure to add a festive touch to any decor!

I have mine hanging on my cafe shelves, above my dining table.
Make sure to click over to my blog, to read how I made that cute wooden box centerpiece, and how I decorated my cafe shelves for Thanksgiving.
__________________________
Visit Natalie on her Blog : Facebook : Pinterest : Instagram : Twitter
and check out these great posts of hers...

and check out these great posts of hers...

DIY Café Shelves : Bus Driver Gift : Thanksgiving Place Cards
_____________________________
This post is sponsored by:


_____________________________
This post is sponsored by: